I think I mentioned some time back some one on the Archery forum I frequent asked me to do a build-a-long on my next bow , I've posted it there and thought some here may be interested in seeing it
First off the some details
The bow is 68" nock to nock , 70" all up
The Riser is Zebra wood , 16"
One tapered lamination and three parallel laminations
Taper is Coffee Bamboo .103"
Parallel laminations
2x .064 " Coffee bamboo
1x .101 " Tulip wood
Fibreglass laminations
2x .040 " Black
Draw Weight 40# @ 28"
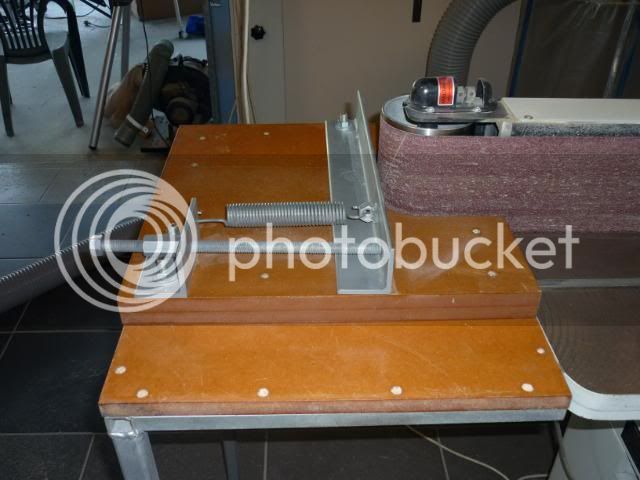
First off I cut and grind my laminations , I use a attachment I made up for my big belt sander
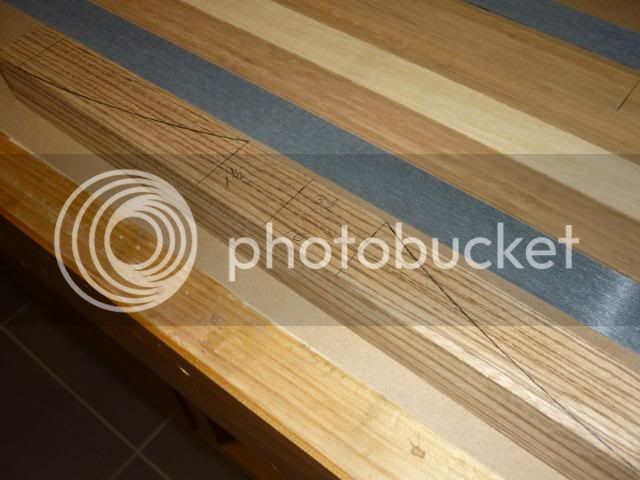
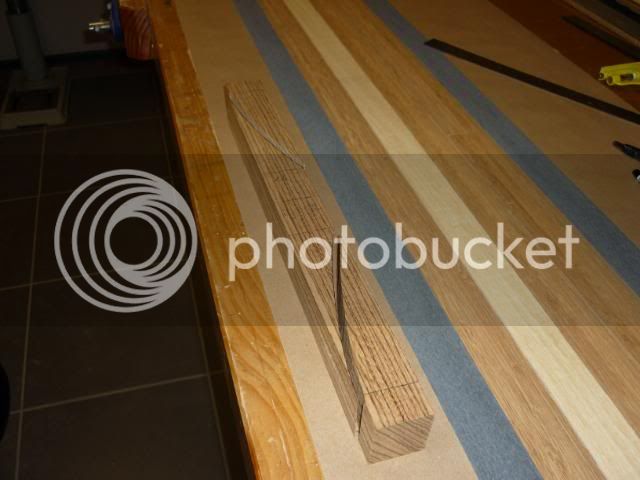
I then mark out and cut out the Riser on my Band saw then grind to the line on the big belt sander
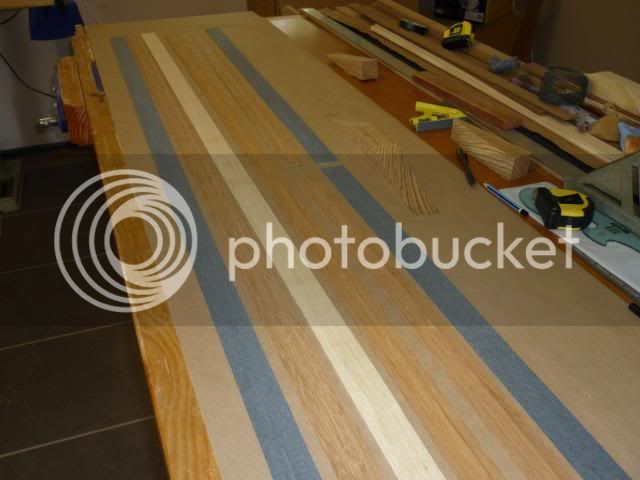
My bench is set up with a roll of Brown paper on one end , when I go to do a new bow I roll it out and tape down one end , when the bow is finished I cut off the old paper and roll out a new lot , makes it cleaner for epoxy work
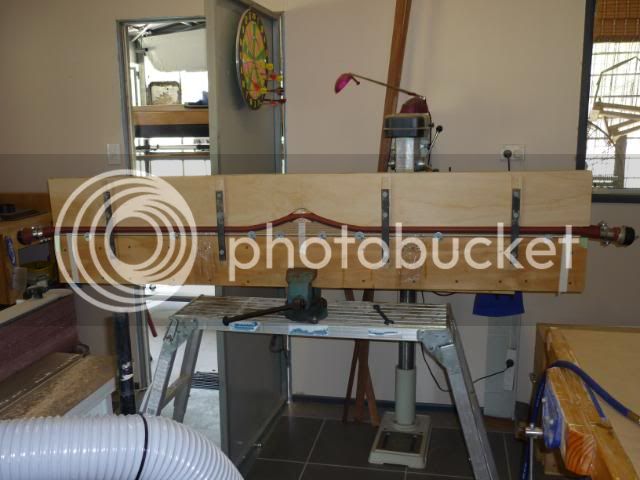
I double check the laminations and the riser tape up the face side of the fibreglass strips with 8 day masking tape then do a dry run by putting the lot into the bow press and inflating the air hose , if all is well it comes out again and into the hot box to warm up ,
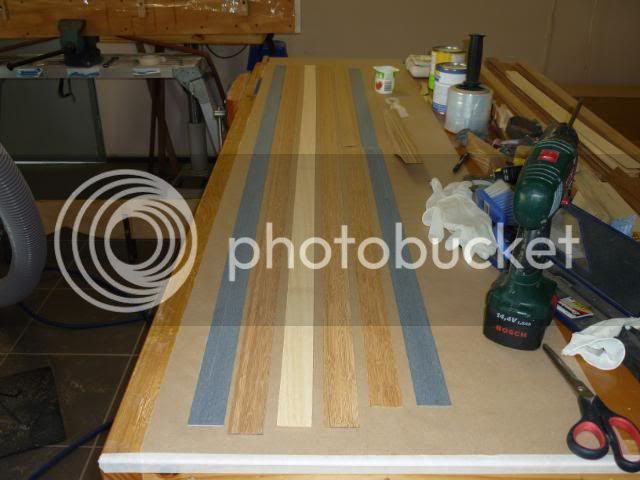
While that is happening I set out the bench with all the stuff I'll need for the next step , I set out the epoxy , I use smooth on , I make it up to a 110 gm batch , that seems to work out just right for me , I use a 40 mm plastic scraper to spread it , I always put several pair of rubber gloves on the bench handy and make sure the press is set up and the glad wrap , tape and such are handy and a covering of Glad wrap is on the bow form
Once the laminations are warmed up I put them on the bench , mix the epoxy and start work , when all surfaces are coated it's in to the form with the riser held into place with filament tape , more glad wrap goes on the Lamipanel strips I use between the bow and the air hose , I then put more Filament tape on the very ends , flip the mudguard washers along the form into place and nip them up to hold the laminations in place evenly and then use a plastic film hand dispenser to wrap the form from the ends to hold the lot into place evenly , the air hose then goes on and the top form and it's all bolted up tight and the air hose inflated slowly with a gap of 30 seconds or so every 10 psi , then into the hot box
Next morning out it comes and the plastic wrap comes off and then the epoxy dags are ground off on the big belt sander
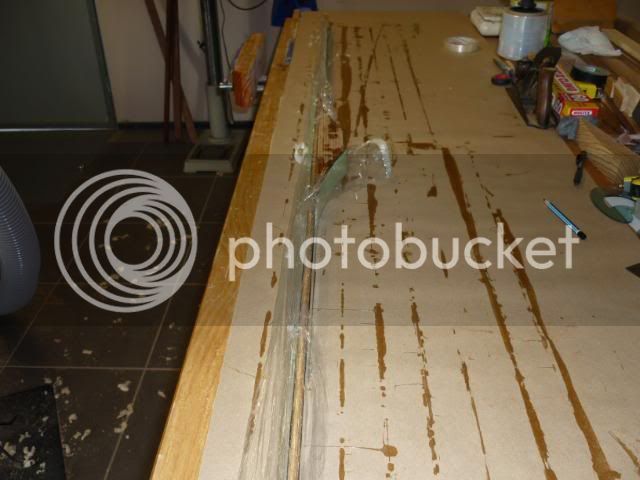
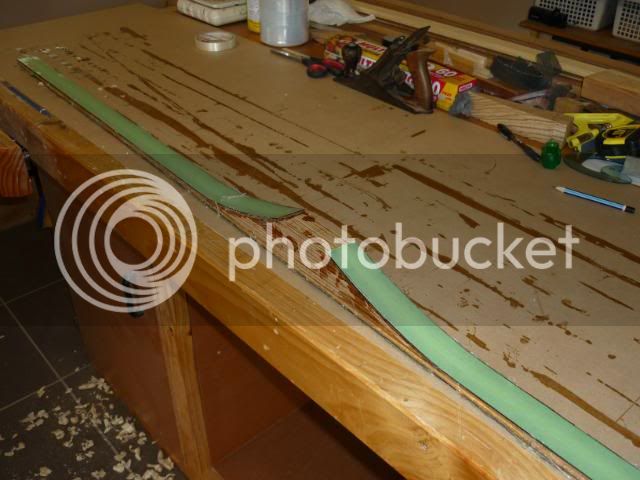
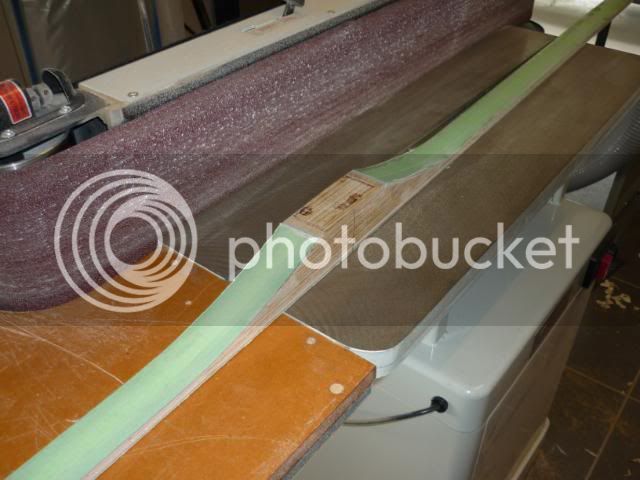
Then the straight edge goes on and the centre is marked , then the bow marked out ,
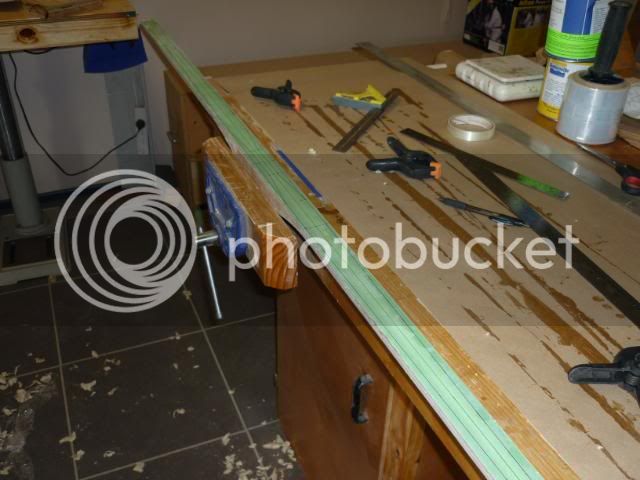
Once it's marked out I cut it out on the Triton Bench saw , I used to use the Bandsaw but it's too expensive on blades , with the triton I get 10 bows from the one blade instead of just one
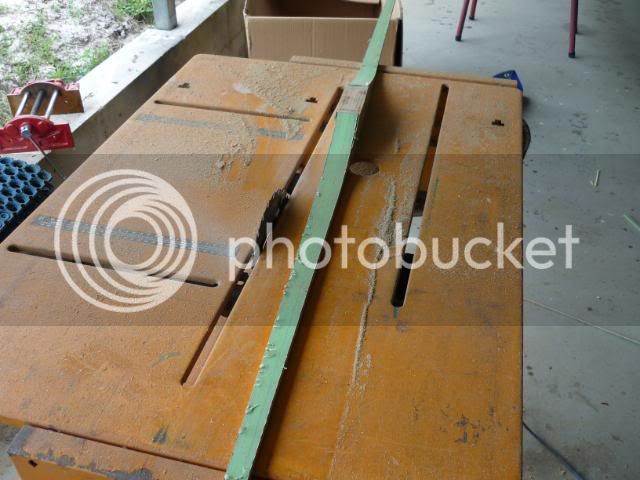
Then back onto the big belt sander to grind almost up the the marked lines for the limbs and the riser is ground to the correct width , I have made them 1 1/4" but prefer to make bows 1 1/8" wide
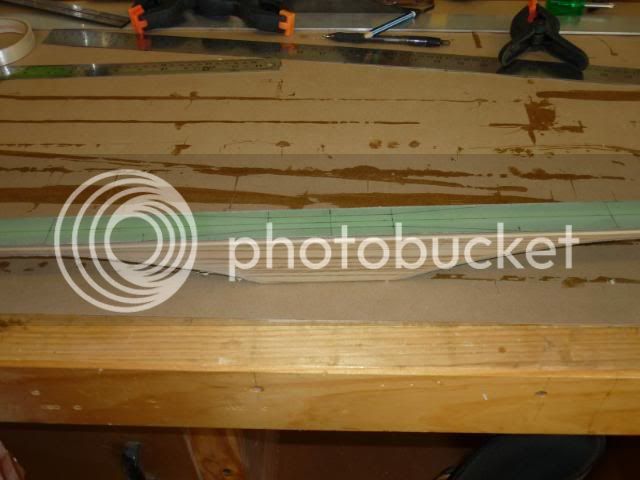
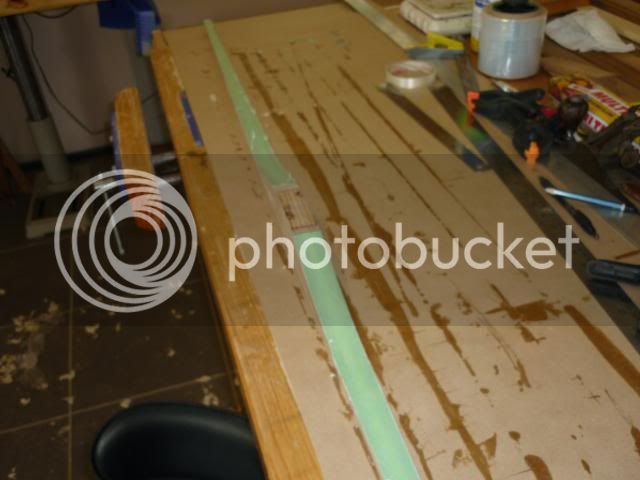
Then into the vise and sanded down to the line by hand
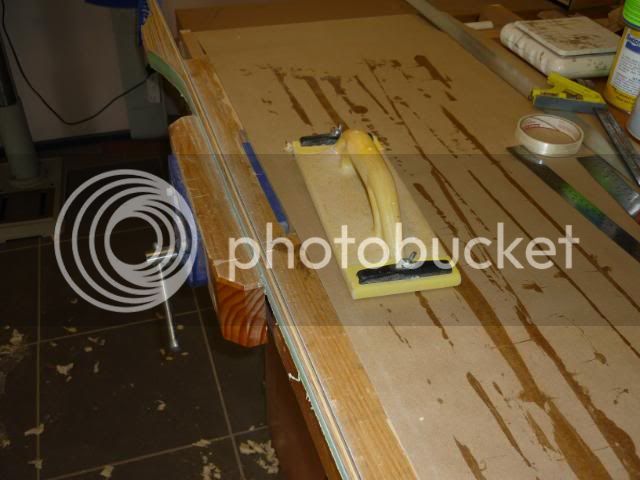
At this stage I then File the string nocks ,
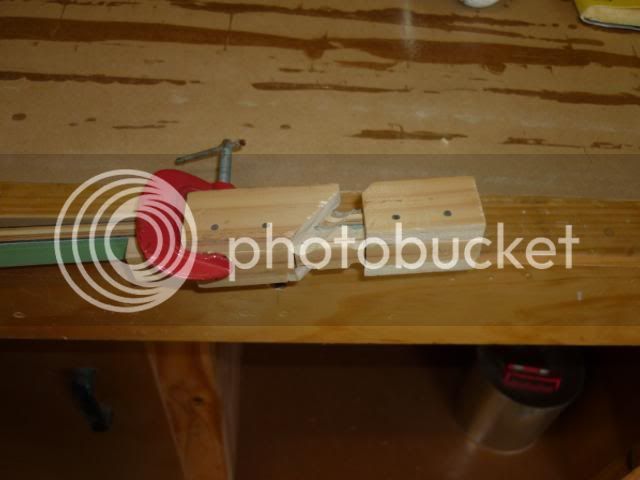
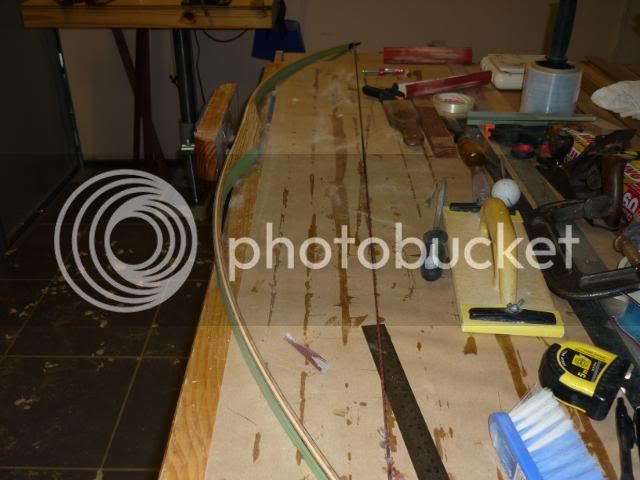
string the bow and check for limb twist , check the draw weight , check both limbs are bending equally and check tiller , mark the top limb and mark out the shelf , I make the main cuts for the shelf with a tenon saw then take it to my smaller linisher and rough out the shelf , then back to the vise and the rasp , once the shelf is pretty much rasped out I take the bow back to the big linisher and rough shape the riser , then back to the vise and rasp ,
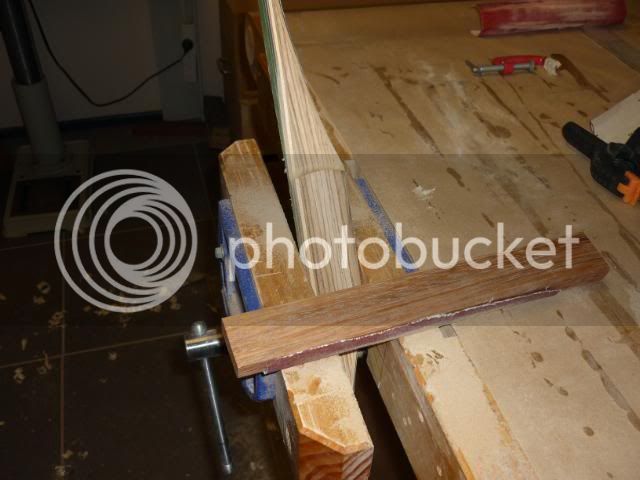
after the rasp I start with a block of wood that has one edge slightly rounded and I wrap that with 80 grit fabric backed sand paper , I use that to finish shaping the riser grip and shelf , I like the shelf to be slightly curved on all faces with no corners to create weak spots , I go from 80 grit to , 120 then 180 , 240 and then 400 grit ,
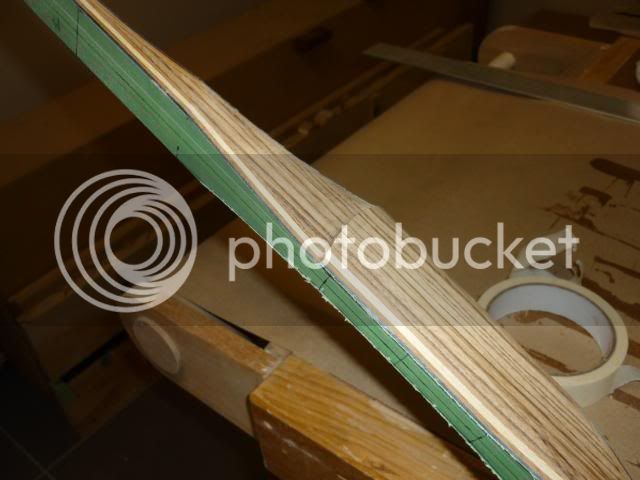
I then epoxy on some Zebra wood strips for the string nock overlays and into the hot box
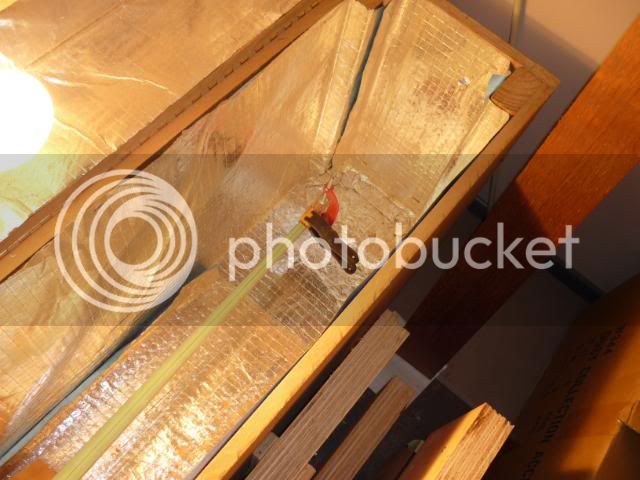
next day I grind the overlays close to profile on the linisher and then start with the rasp ,
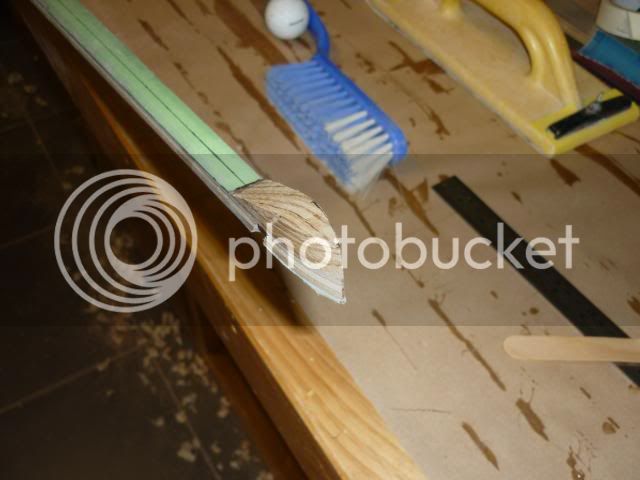
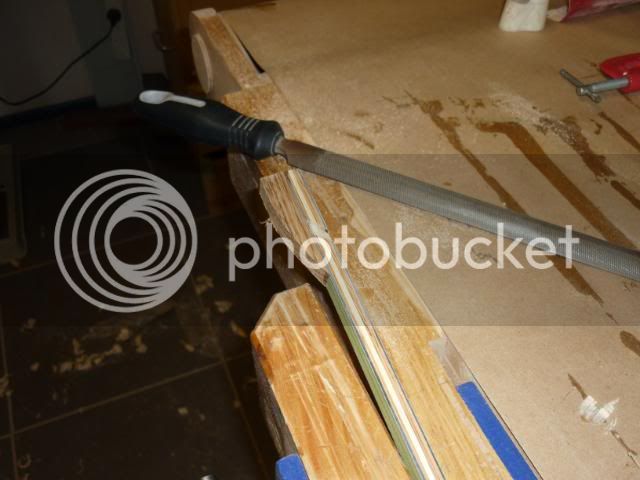
After the tips are roughed out with the rasp I clamp the bow to the bench and start working with strips of fabric backed sandpaper in a shoe shine style to final shape and sand the tips , seems to work out a couple of hours work in each one to get just right
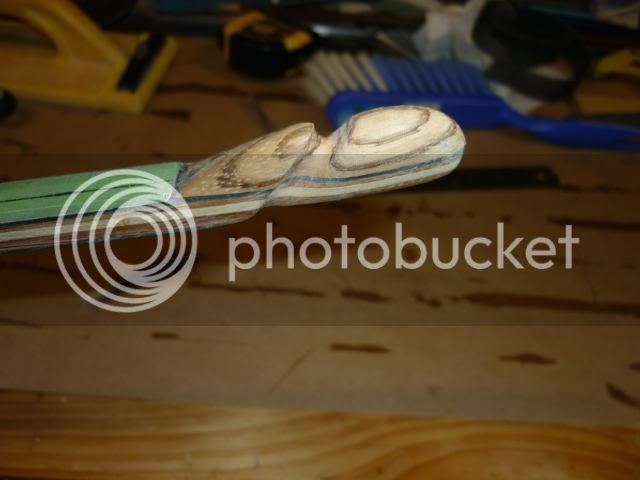
at this stage I sand the tips , sides of the limbs and riser again with 400 grit and take it out into the sun to check over again for any sanding marks ,
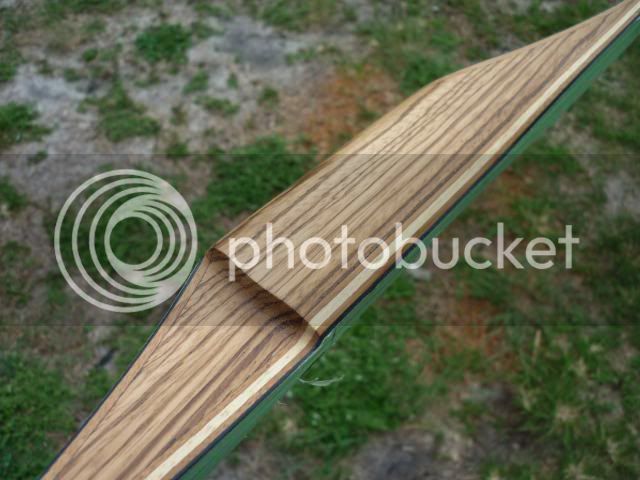
I then apply sanding sealer with finger and let dry
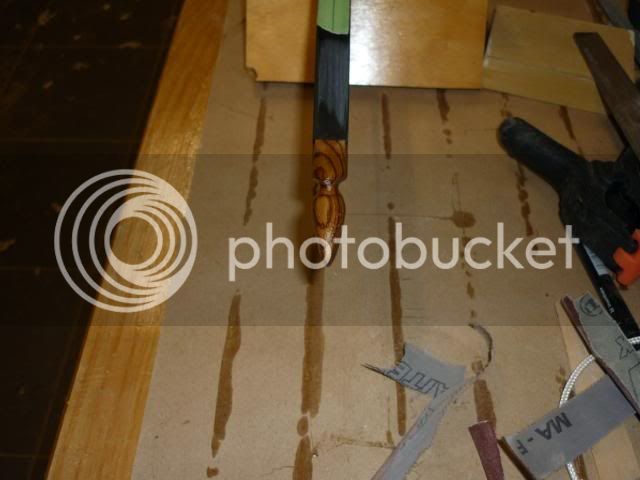
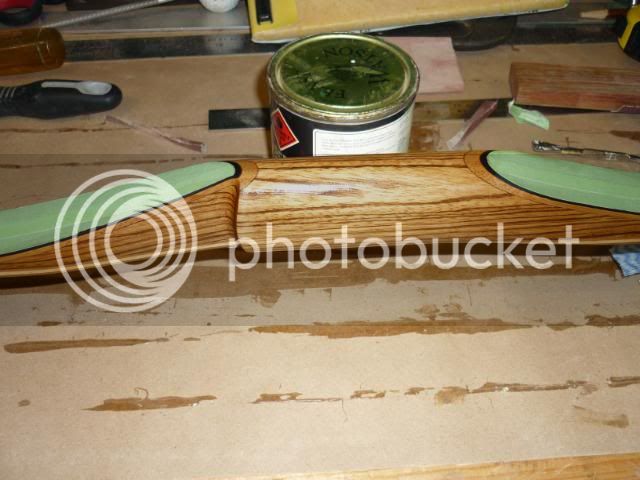
when dry I sand with 1000 grit wet and dry and fine steel wool , then another coat of sanding sealer and let dry , more fine sanding and then the tape comes off the limbs and then I sand the glass with 150 wet and dry then 240 and 400 grit , not a lot of sanding , just cleaning it off basically , I sand the corners to give a nice rounded edge and then use a paint pen to mark the draw weight
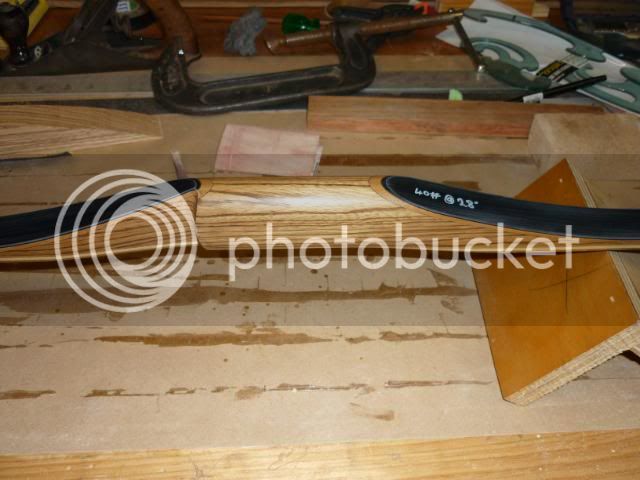
At this stage I would normally clear coat but it's raining and has been for the last few days and may be for the next few day so since I haven't of yet made my self a spray booth I'll have to wait , I now use a Acrylic clear coat that gives a bit more gloss and a harder finish than the old clear enamel I used to use
David
First off the some details
The bow is 68" nock to nock , 70" all up
The Riser is Zebra wood , 16"
One tapered lamination and three parallel laminations
Taper is Coffee Bamboo .103"
Parallel laminations
2x .064 " Coffee bamboo
1x .101 " Tulip wood
Fibreglass laminations
2x .040 " Black
Draw Weight 40# @ 28"
First off I cut and grind my laminations , I use a attachment I made up for my big belt sander

I then mark out and cut out the Riser on my Band saw then grind to the line on the big belt sander


My bench is set up with a roll of Brown paper on one end , when I go to do a new bow I roll it out and tape down one end , when the bow is finished I cut off the old paper and roll out a new lot , makes it cleaner for epoxy work

I double check the laminations and the riser tape up the face side of the fibreglass strips with 8 day masking tape then do a dry run by putting the lot into the bow press and inflating the air hose , if all is well it comes out again and into the hot box to warm up ,

While that is happening I set out the bench with all the stuff I'll need for the next step , I set out the epoxy , I use smooth on , I make it up to a 110 gm batch , that seems to work out just right for me , I use a 40 mm plastic scraper to spread it , I always put several pair of rubber gloves on the bench handy and make sure the press is set up and the glad wrap , tape and such are handy and a covering of Glad wrap is on the bow form

Once the laminations are warmed up I put them on the bench , mix the epoxy and start work , when all surfaces are coated it's in to the form with the riser held into place with filament tape , more glad wrap goes on the Lamipanel strips I use between the bow and the air hose , I then put more Filament tape on the very ends , flip the mudguard washers along the form into place and nip them up to hold the laminations in place evenly and then use a plastic film hand dispenser to wrap the form from the ends to hold the lot into place evenly , the air hose then goes on and the top form and it's all bolted up tight and the air hose inflated slowly with a gap of 30 seconds or so every 10 psi , then into the hot box
Next morning out it comes and the plastic wrap comes off and then the epoxy dags are ground off on the big belt sander


Then the straight edge goes on and the centre is marked , then the bow marked out ,

Once it's marked out I cut it out on the Triton Bench saw , I used to use the Bandsaw but it's too expensive on blades , with the triton I get 10 bows from the one blade instead of just one

Then back onto the big belt sander to grind almost up the the marked lines for the limbs and the riser is ground to the correct width , I have made them 1 1/4" but prefer to make bows 1 1/8" wide


Then into the vise and sanded down to the line by hand

At this stage I then File the string nocks ,


string the bow and check for limb twist , check the draw weight , check both limbs are bending equally and check tiller , mark the top limb and mark out the shelf , I make the main cuts for the shelf with a tenon saw then take it to my smaller linisher and rough out the shelf , then back to the vise and the rasp , once the shelf is pretty much rasped out I take the bow back to the big linisher and rough shape the riser , then back to the vise and rasp ,

after the rasp I start with a block of wood that has one edge slightly rounded and I wrap that with 80 grit fabric backed sand paper , I use that to finish shaping the riser grip and shelf , I like the shelf to be slightly curved on all faces with no corners to create weak spots , I go from 80 grit to , 120 then 180 , 240 and then 400 grit ,

I then epoxy on some Zebra wood strips for the string nock overlays and into the hot box

next day I grind the overlays close to profile on the linisher and then start with the rasp ,


After the tips are roughed out with the rasp I clamp the bow to the bench and start working with strips of fabric backed sandpaper in a shoe shine style to final shape and sand the tips , seems to work out a couple of hours work in each one to get just right

at this stage I sand the tips , sides of the limbs and riser again with 400 grit and take it out into the sun to check over again for any sanding marks ,

I then apply sanding sealer with finger and let dry


when dry I sand with 1000 grit wet and dry and fine steel wool , then another coat of sanding sealer and let dry , more fine sanding and then the tape comes off the limbs and then I sand the glass with 150 wet and dry then 240 and 400 grit , not a lot of sanding , just cleaning it off basically , I sand the corners to give a nice rounded edge and then use a paint pen to mark the draw weight

At this stage I would normally clear coat but it's raining and has been for the last few days and may be for the next few day so since I haven't of yet made my self a spray booth I'll have to wait , I now use a Acrylic clear coat that gives a bit more gloss and a harder finish than the old clear enamel I used to use
David

